Finally, here are my pictures and commentary on installing the arm rest for my 1999 Golf TDI. I hope this will be very informative and useful. I will refer to the right, left, front and rear as if you wear sitting in the driver’s seat.
First
you will need a T-20 (star) head on your screwdriver. Be sure it’s magnetic.
Take both screws out of the front of the panel, one driver side and one
passenger side.
Next take the ashtray holder out of the back of the counsel and make sure the cup holder is extended. Take both screws out.
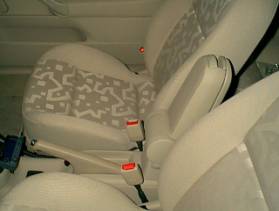
To lift up the rear of the counsel you will need to carefully push down on the front and lift on the rear. This disengages the lip at the front of the counsel. Be gentle and make sure the emergency brake is up as far as it can go. The little tray holder where the armrest will go should pop right out by pushing on it from underneath the counsel.
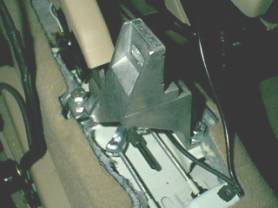
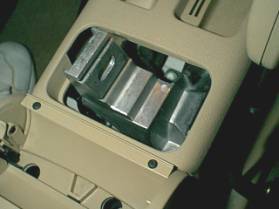
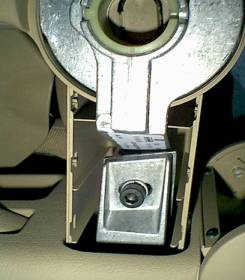
Once the rear of the counsel is up the main bracket will be mounted at shown. It has three mounting points.
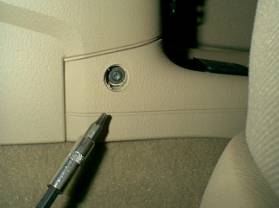
First install the two bolts and nuts on the right hand side. I just used conventional bolts from a hardware store.
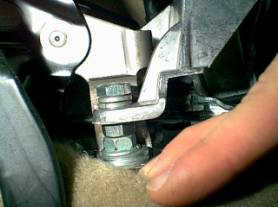
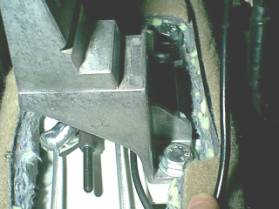
This part gets tricky. The two right bolts mount just fine. However, I discover the left side of the bracket was about a half inch above the standard mount which is were the emergency brake mounts also. Here is what I did. I got two large washers and placed them under the original nut for the emergency brake. This raises the nut and offers some threads for the bolt I would be using. Next I went to the hardware store (taking the original nut, it metric) and found one bolt and nut (same metric size) and two lock washers. As you can see the two washers below the original nut and the new nut (on top of the original) offered the exact distances I needed to make the bracket level. However, the dealer might have an extended nut that would do what you need. I haven’t check into this yet, but my mod works great and its very sturdy.
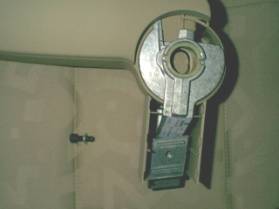
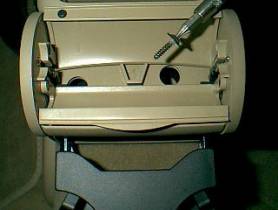
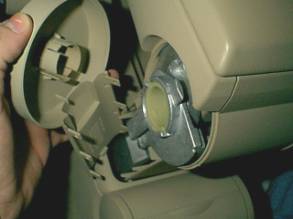
Here is a picture of the armrest and the bolt you will need to mount it to the main bracket, I believe its an M12 bolt. I was able to obtain it from work. A hardware store should have one that would work also.

This picture shows a smaller brake mount on the armrest that needs to be purchased. A special bolt needs to be purchased with it. This bolt, when screwed into the armrest, taps the hole as you screw it in.
After you have mounted the main bracket lower the counsel, make sure that you carefully reinsert the lip at the front of the counsel at the same time. Additionally, screw the back of the counsel down. You will not be able to get the left screw in after you install the armrest, if you forget to do this. You can also screw the front of the panel back down at this time.
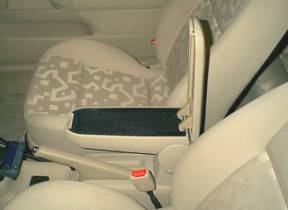
Next mount the armrest. It should go in easily with a little bit a wiggling.
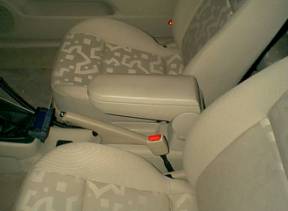
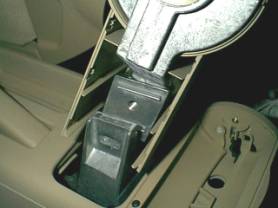
Once in place the armrest will be secured with the single bolt and lock washer as shown.
The left cover will pop gently into place. This is the third time I have had this apart so removal of the armrest is just as easy.
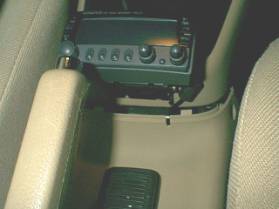
Below is what the finished installment looks like. The picture of the blue faced radio is my Ham Radio remote display that matches my instrumentation lights nicely. Below the emergency brake is a remote speaker. The main transceiver is mounted in the trunk.